Installing rough carpet tiles follows a slightly different process compared to traditional wall-to-wall carpeting. Here’s a step-by-step guide on how to install rough carpet tiles:
- Pre-installation Preparation:
- Measure the area: Measure the dimensions of the room where the carpet tiles will be installed, accounting for any irregularities or angles.
- Purchase the right materials: Choose rough carpet tiles that are suitable for your specific needs and preferences. Consider factors such as durability, pile height, and backing options.
- Prepare the subfloor: Ensure that the subfloor is clean, dry, and level. Remove any existing flooring and repair any cracks or irregularities.
- Plan the Layout:
- Determine the starting point: Decide where you want to begin installing the carpet tiles. It’s typically recommended to start in the center of the room or from the longest wall.
- Create a layout guide: Use chalk lines or straight-edge guides to mark the layout of the carpet tiles on the subfloor. This will help ensure straight lines and proper alignment.
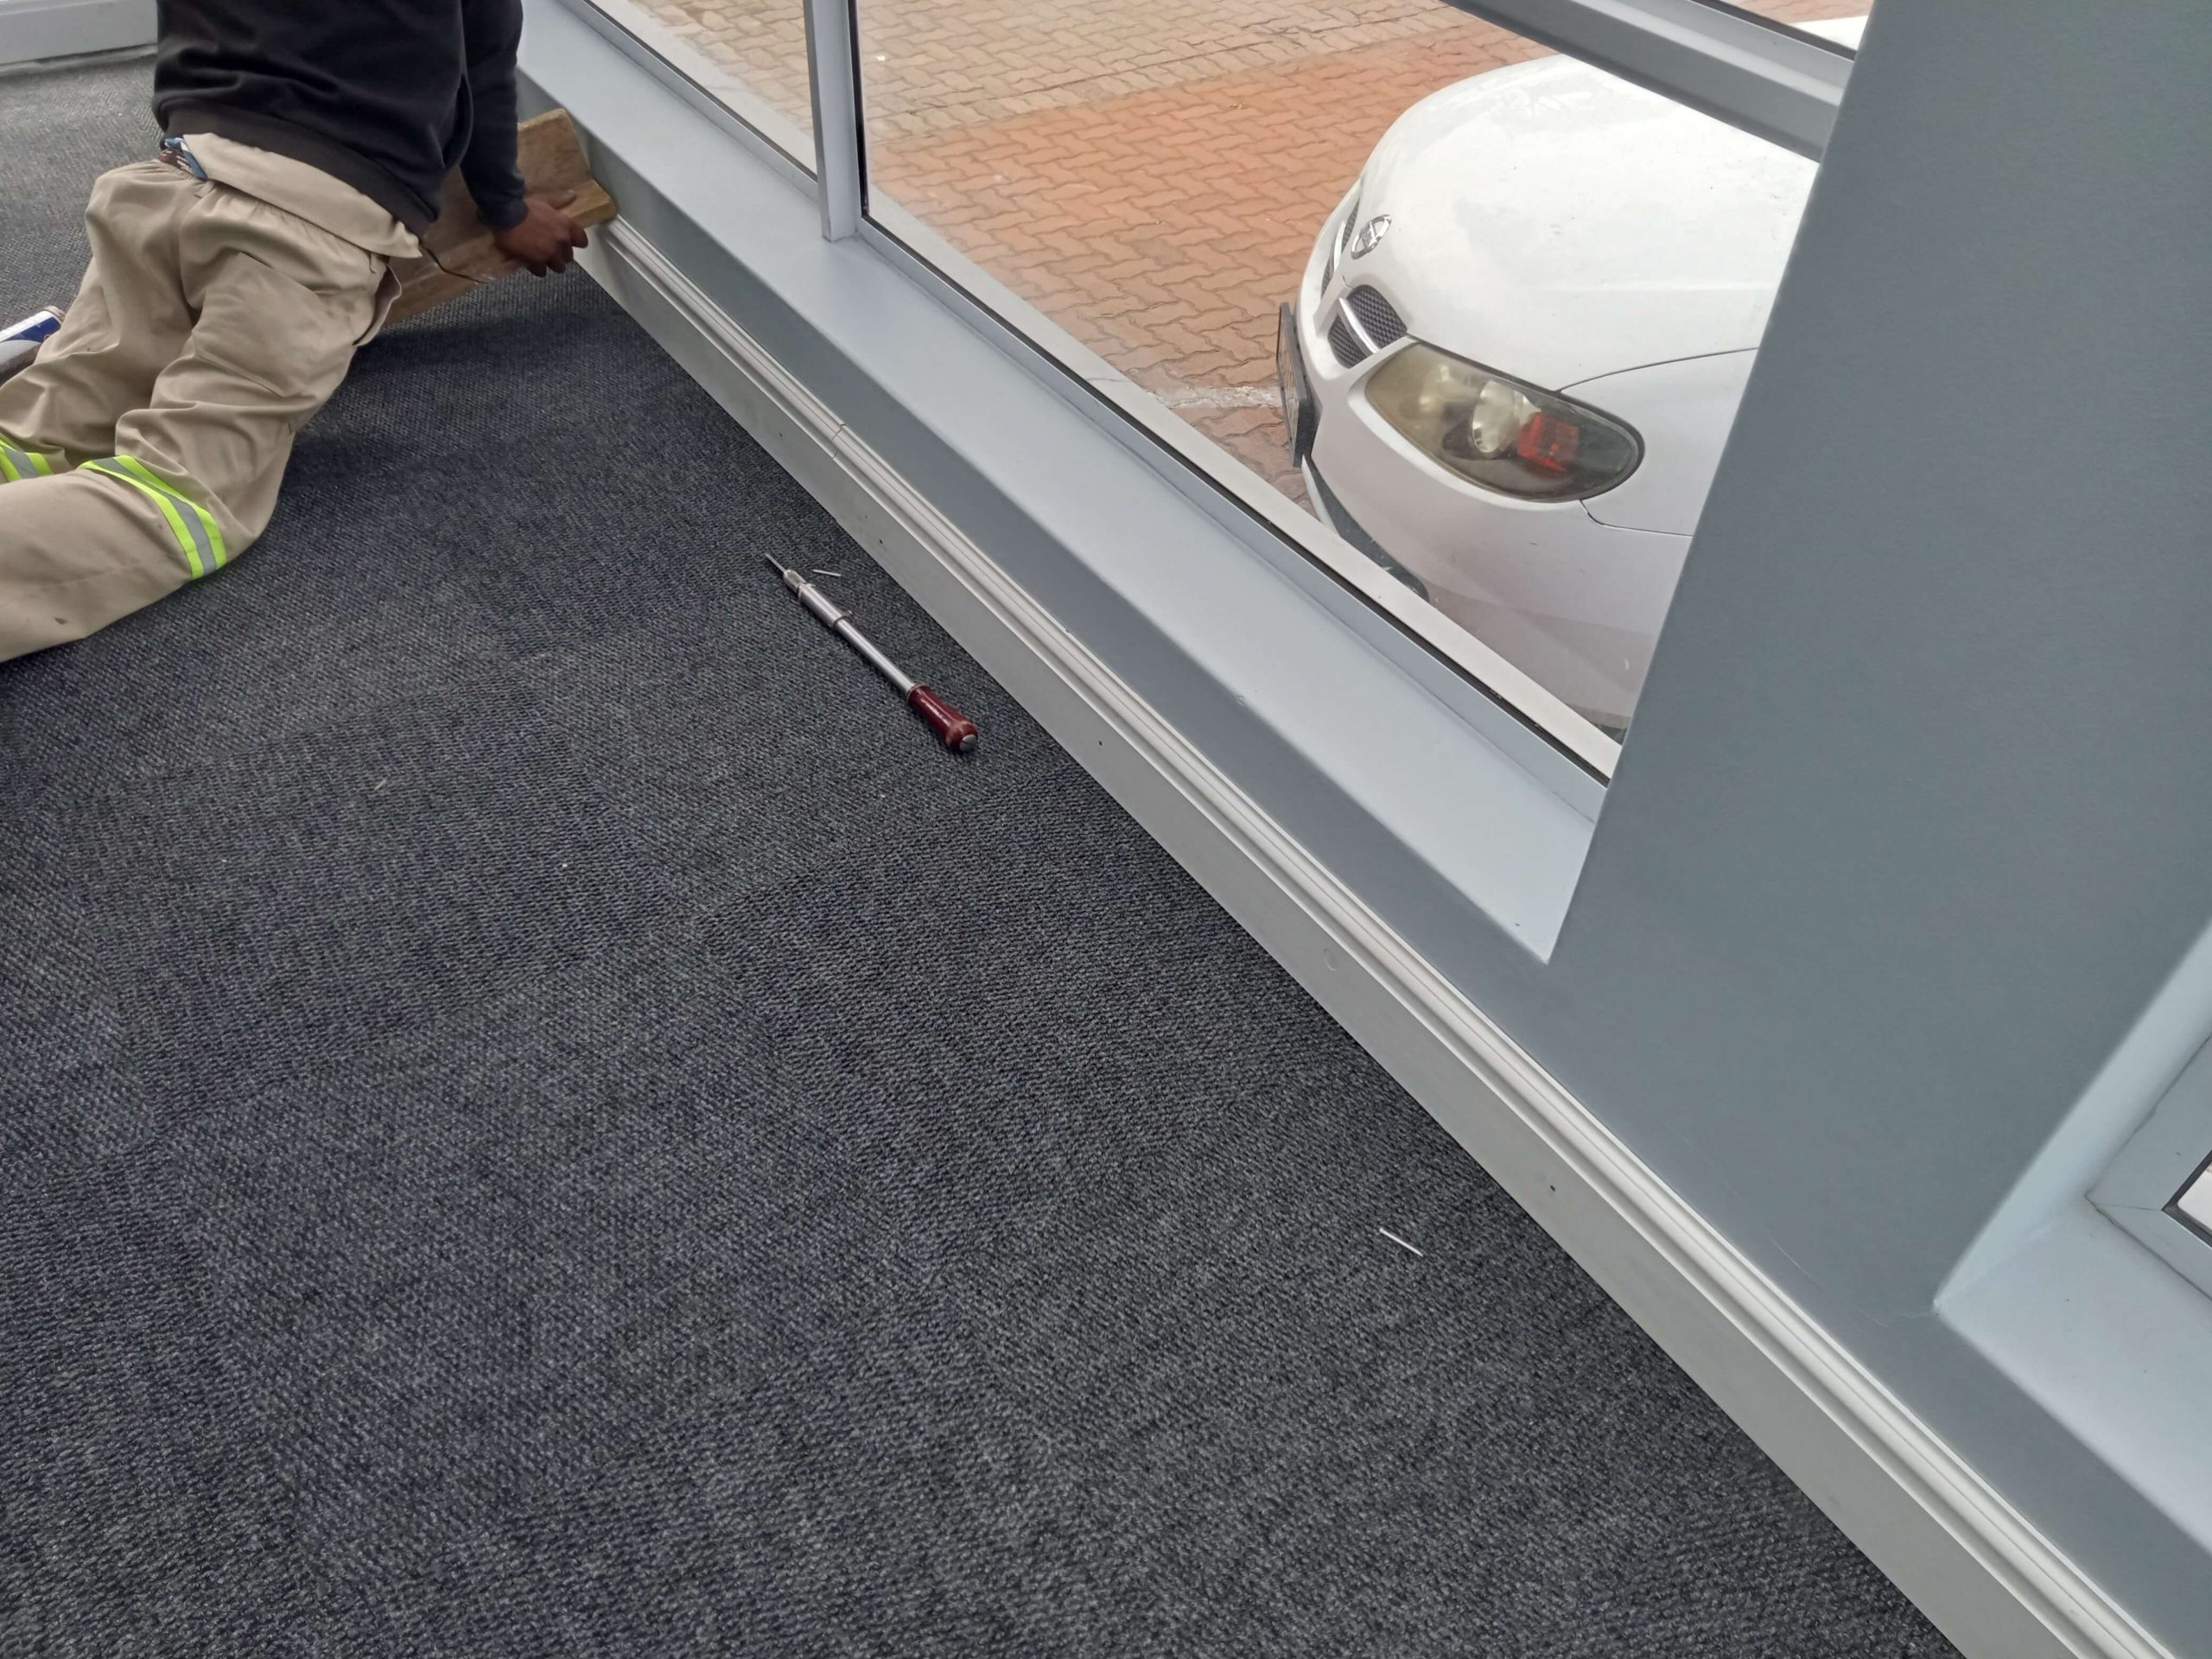
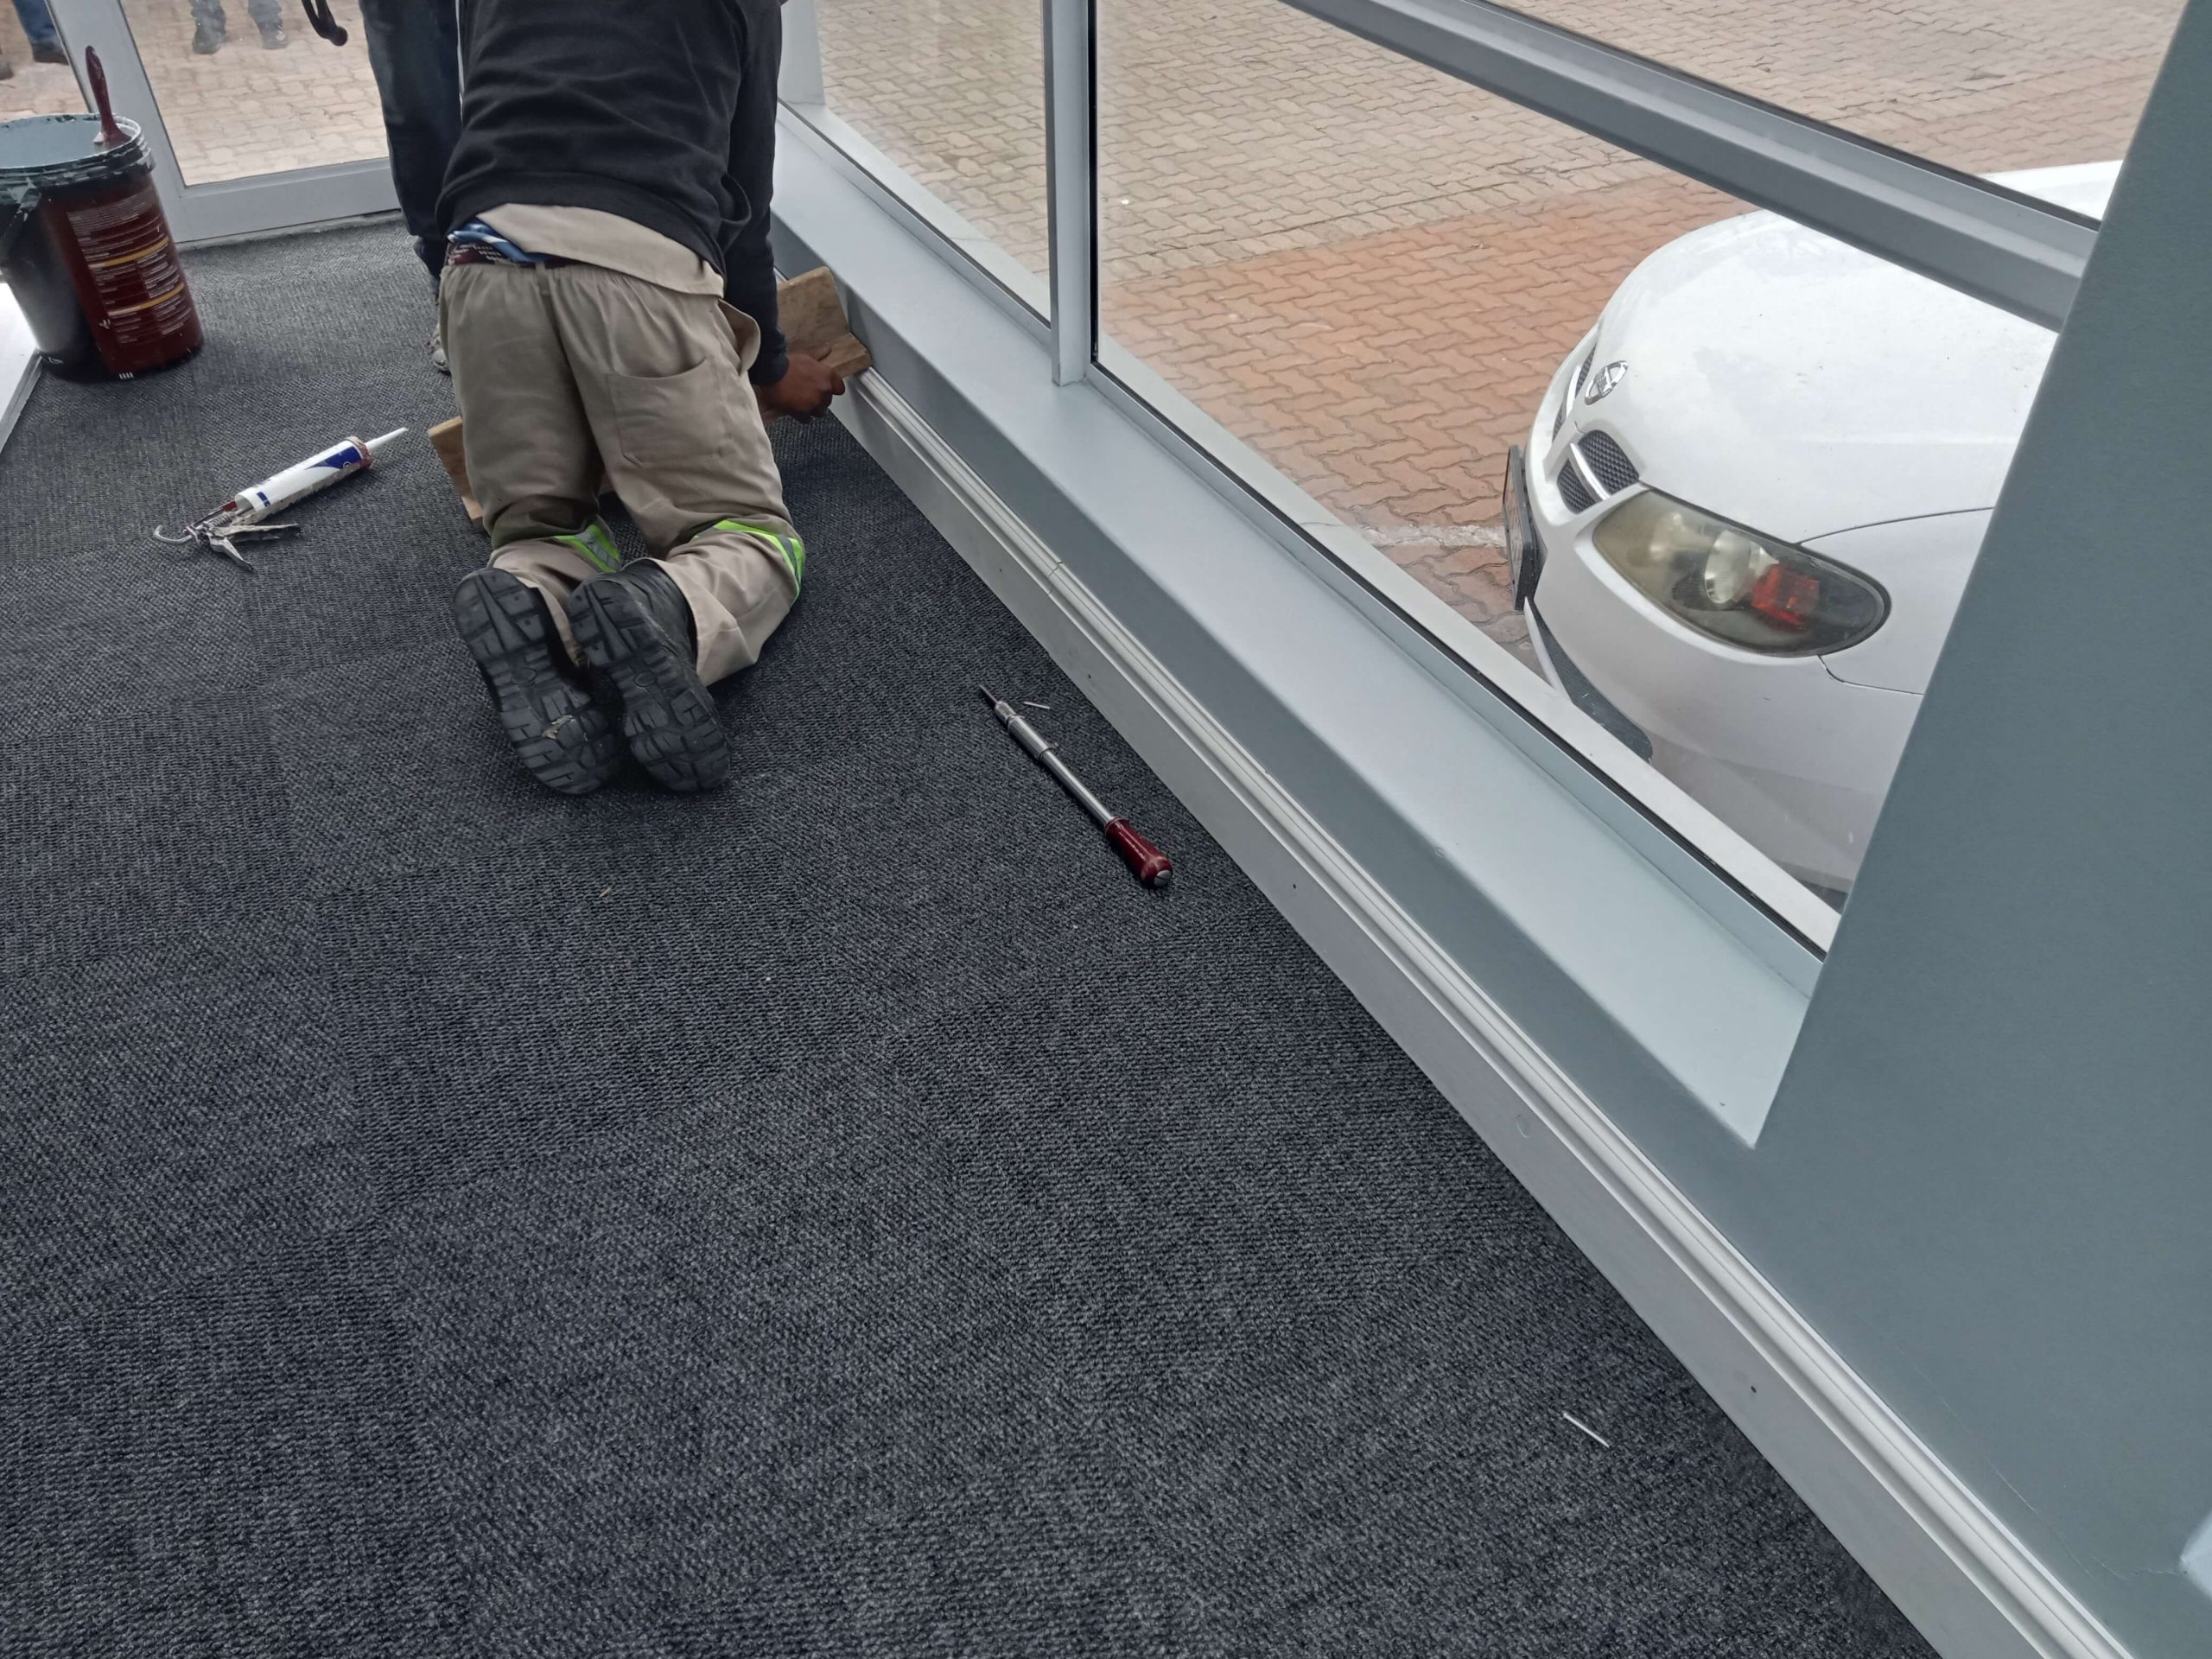
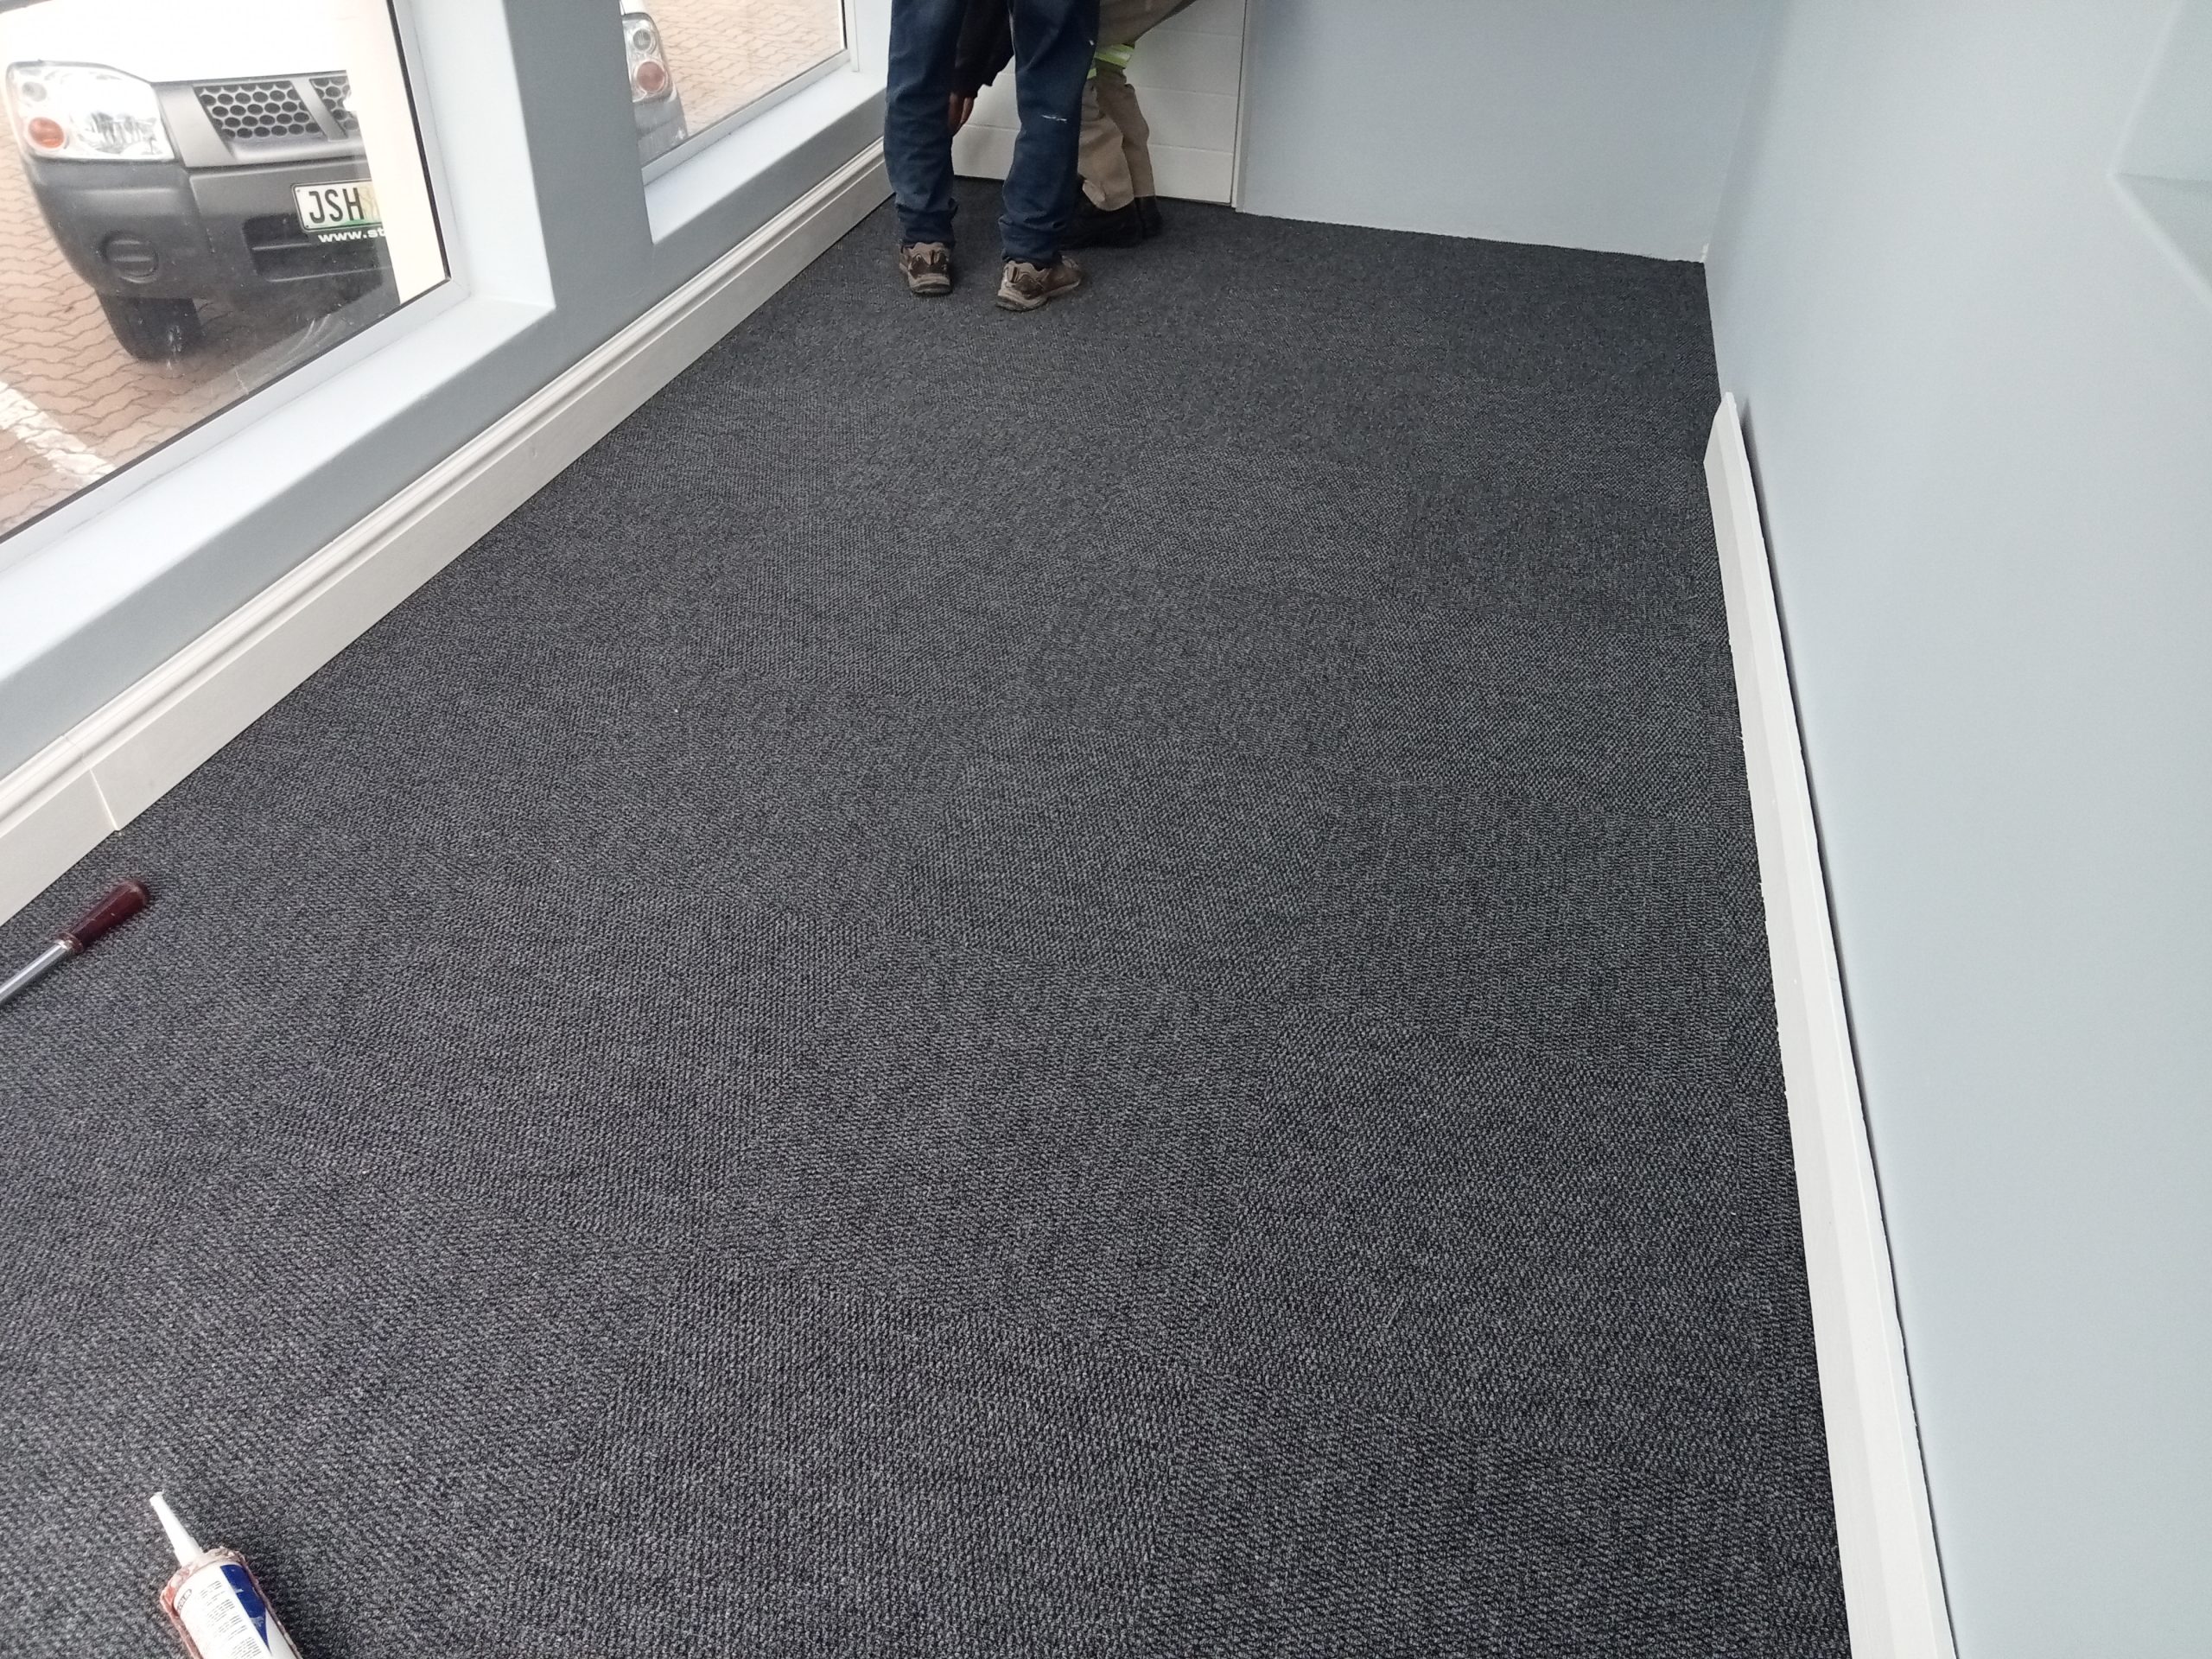
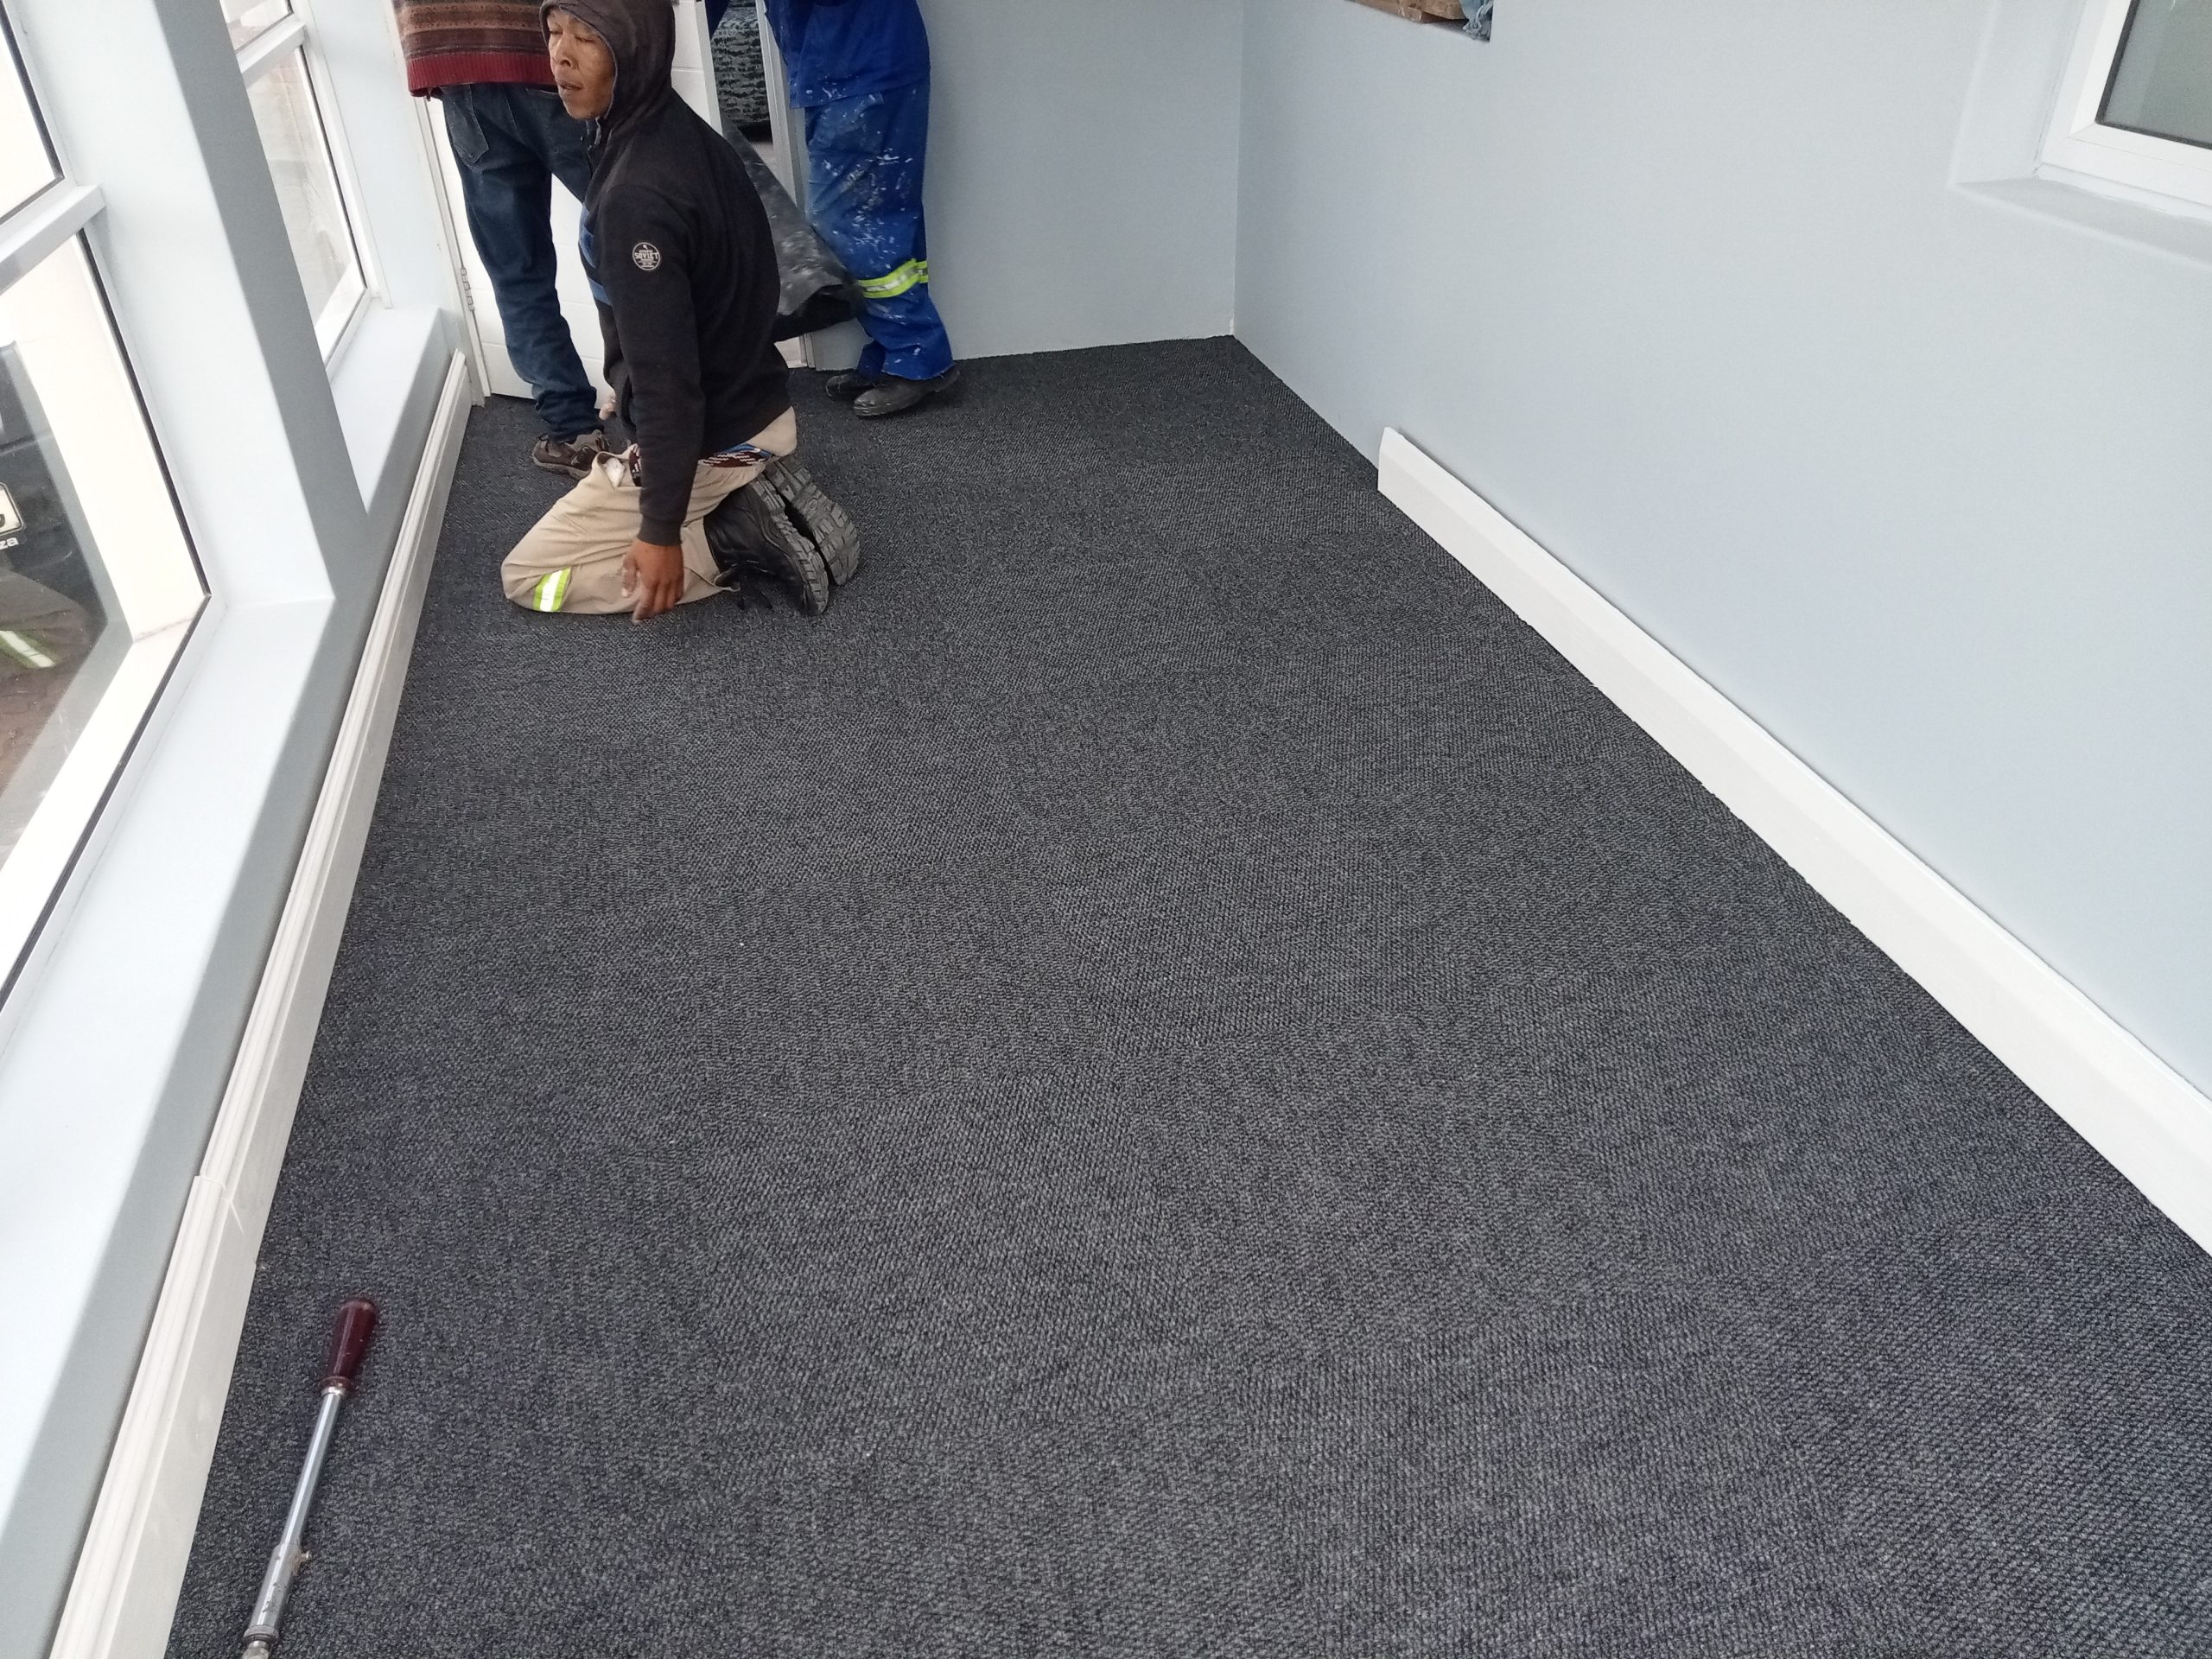
- Install the Carpet Tiles:
- Begin installation: Starting from your chosen starting point, place the first carpet tile in position. Align it precisely with the layout guide.
- Continue laying tiles: Place the next carpet tile tightly against the first one, following the layout guide. Repeat this process, working your way across the room.
- Adhere to the tiles: Depending on the type of carpet tiles you have, there are different methods of attachment. Some tiles come with peel-and-stick adhesive backing, while others require adhesive to be applied to the subfloor or the back of the tiles. Follow the manufacturer’s instructions for the specific type of carpet tiles you have.